The article explains how to build "Hello, world" application in Scala 3.
Pre-requisites
- Entry-level programming knowledge
- macOS
If you are an experienced developer I'd recommend starting with Scala 3 Book.
Step 1: Install development software
Code editor
Install VS Code. You might choose another editor: Sublime Text, Vim or Emacs. Each of them is lightweight and beloved by the community. For immediate immersion in Scala, we will stick with VS Code.
Extention for the editor
Install Metals. This plugin teaches the editor to understand Scala code. As a result, the editor enhances your development experience. For instance, it highlights syntax errors, autocompletes code (kind of prompts on a phone keypad) or keeps indentation. Of course, if you do not install the extension, you still can write in Scala, but an editor won't know how to assist you.
Development environment
Install a default set of applications needed for a Scala program to run. Just insert the following1 in the Terminal:
curl -fL https://github.com/coursier/launchers/raw/master/cs-x86_64-apple-darwin.gz | gzip -d > cs && chmod +x cs && (xattr -d com.apple.quarantine cs || true) && ./cs setup
This command launches the application called Coursier that installs the required software. This software constitutes the basis of the Scala development environment. The list of them can be found here. If you are looking for other ways to set up the Scala development environment, e.g. using Brew, see Coursier documentation.
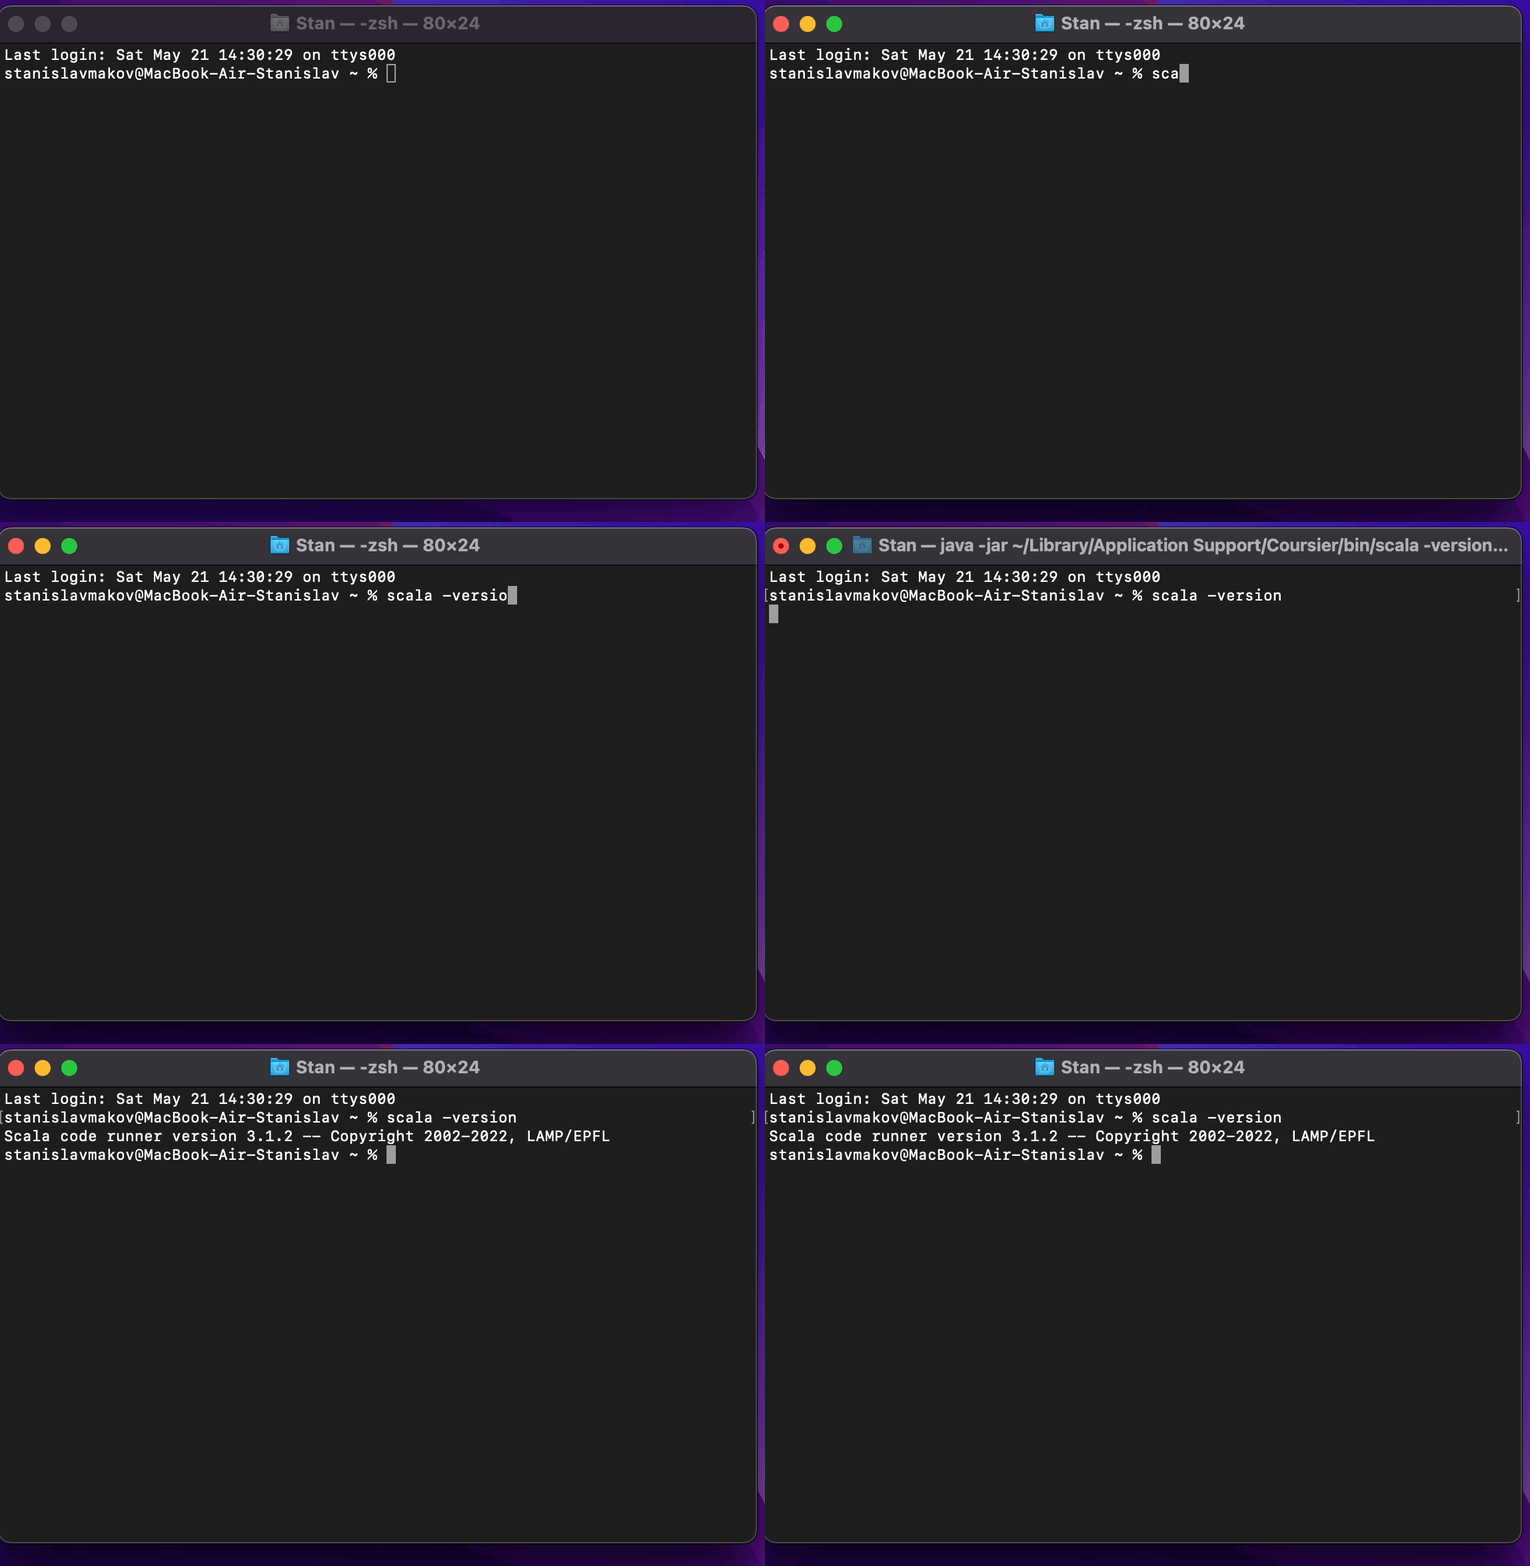
Let's verify that the installation has been successful. Run scala -version in the terminal. If the installation was successful, you should see the Scala version in the output.
Scala code runner version 3.1.2 -- Copyright 2002-2022, LAMP/EPFLIf you do not receive similar output, please reboot your computer 💻

Perfect. One of the coolest programming languages is ready for use 👌
Step 2: Create a project
"Create a project" implies generating a folder containing the source files of your program. For this purpose,
-
Create an empty folder on your computer manually. Feel free to name and locate it at your discretion.

-
Open the created folder with the terminal. You can do it either by right-clicking on the folder and selecting "New Terminal at Folder", or, in case you are familiar with the terminal,
cdto the folder.
-
Run the following in the terminal:
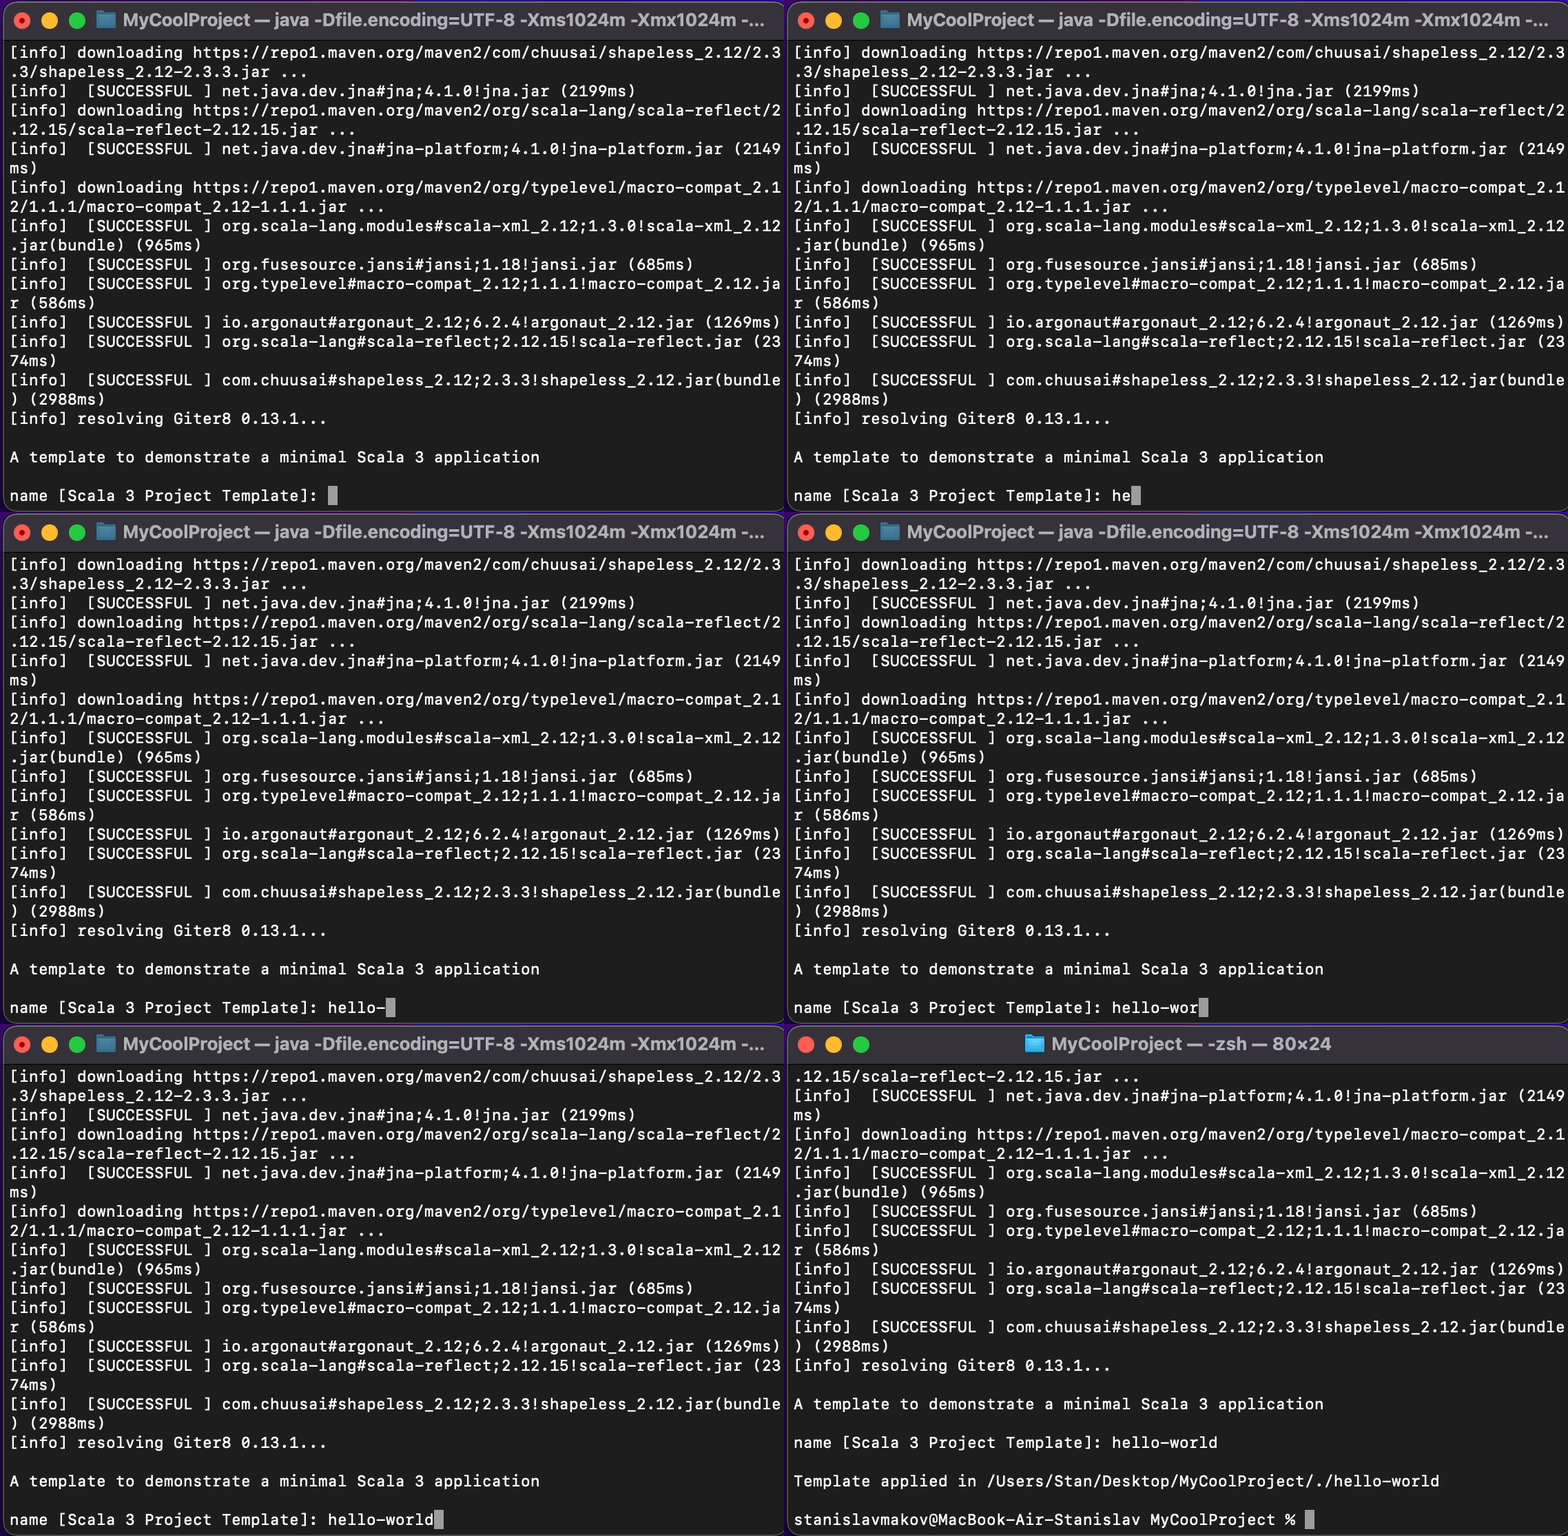
sbt new scala/scala3.g8 -
In a short while, the terminal will prompt you to name your project. Write “hello-world” and press enter.

Step 3: Open the project with the editor
-
Launch VS Code.
-
Click "Open Folder" and select “hello-world” directory. The directory is located in the project folder you created earlier
-
Once you've selected and clicked “Open”, VS Code will start opening the project and will ask you whether to import the build. Press “Import build”.

Step 4: Run the code
-
Open Terminal in VS Code
-
Run the
sbtcommand. We have just started a so-called "sbt server". Now it is accepting (listening and interpreting) input from the terminal. -
Run the command
runand see the output.
Perfect 👍
Your first Scala 3 application has run successfully.
For running your program, you should always start sbt server once (by sbt command), and then type run command (for each running). This is because VS Code doesn't know how to handle Scala projects. So it is safe to say that Sbt acts as a coordinator of Scala development environment.
